Save to Pinterest
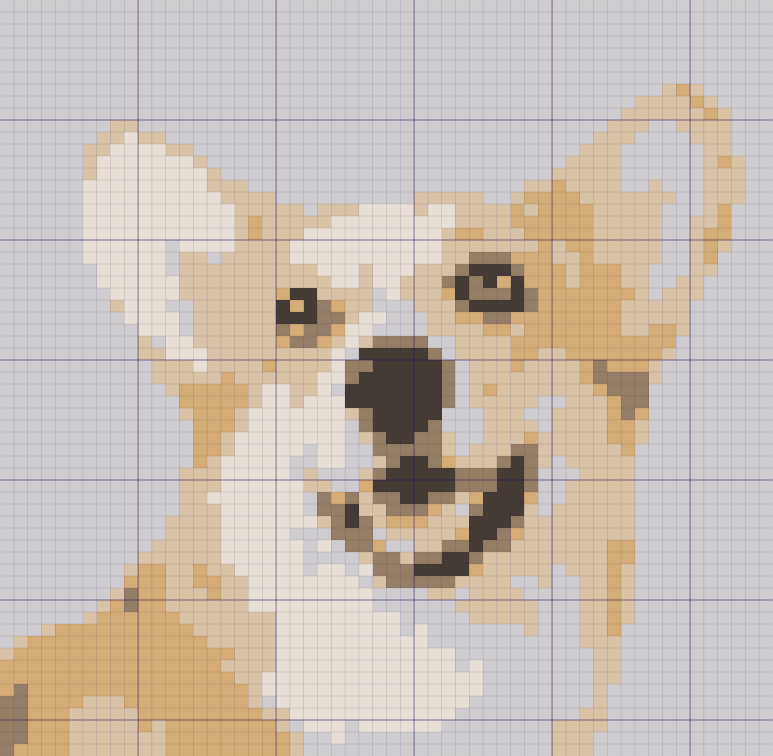
You have a picture. Your cat, a cartoon your child drew, the logo of your team. You want to crochet it, and you want it to still look like the picture.
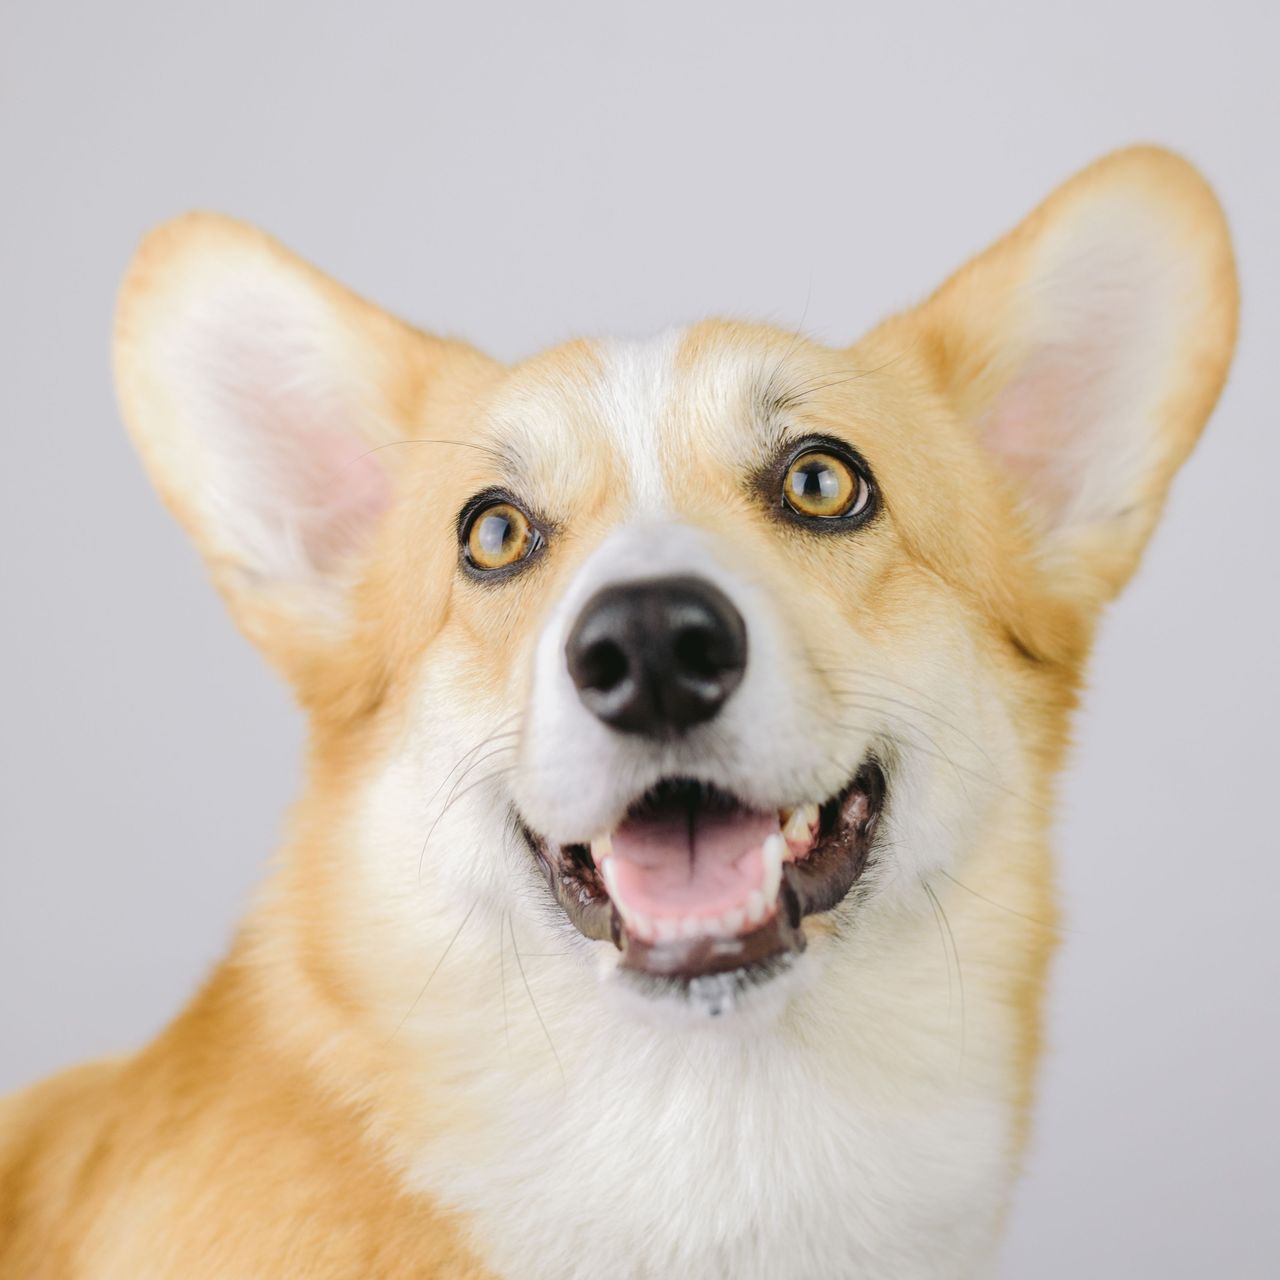
This is how to turn a picture into a crochet tapestry pattern, by hand or with a tool. Whatever makes the chart, four decisions are yours: which picture, how wide, how many colors, and what to fix before the first row. One photo, a smiling corgi, goes through every step.
What is a tapestry crochet chart?
Tapestry crochet is colorwork, usually in single crochet (the US name; UK patterns say double crochet). You hold two or more yarns at once: one makes the stitch, the others ride along inside it until the chart calls for them. Worked firmly, the fabric is dense and looks almost woven.
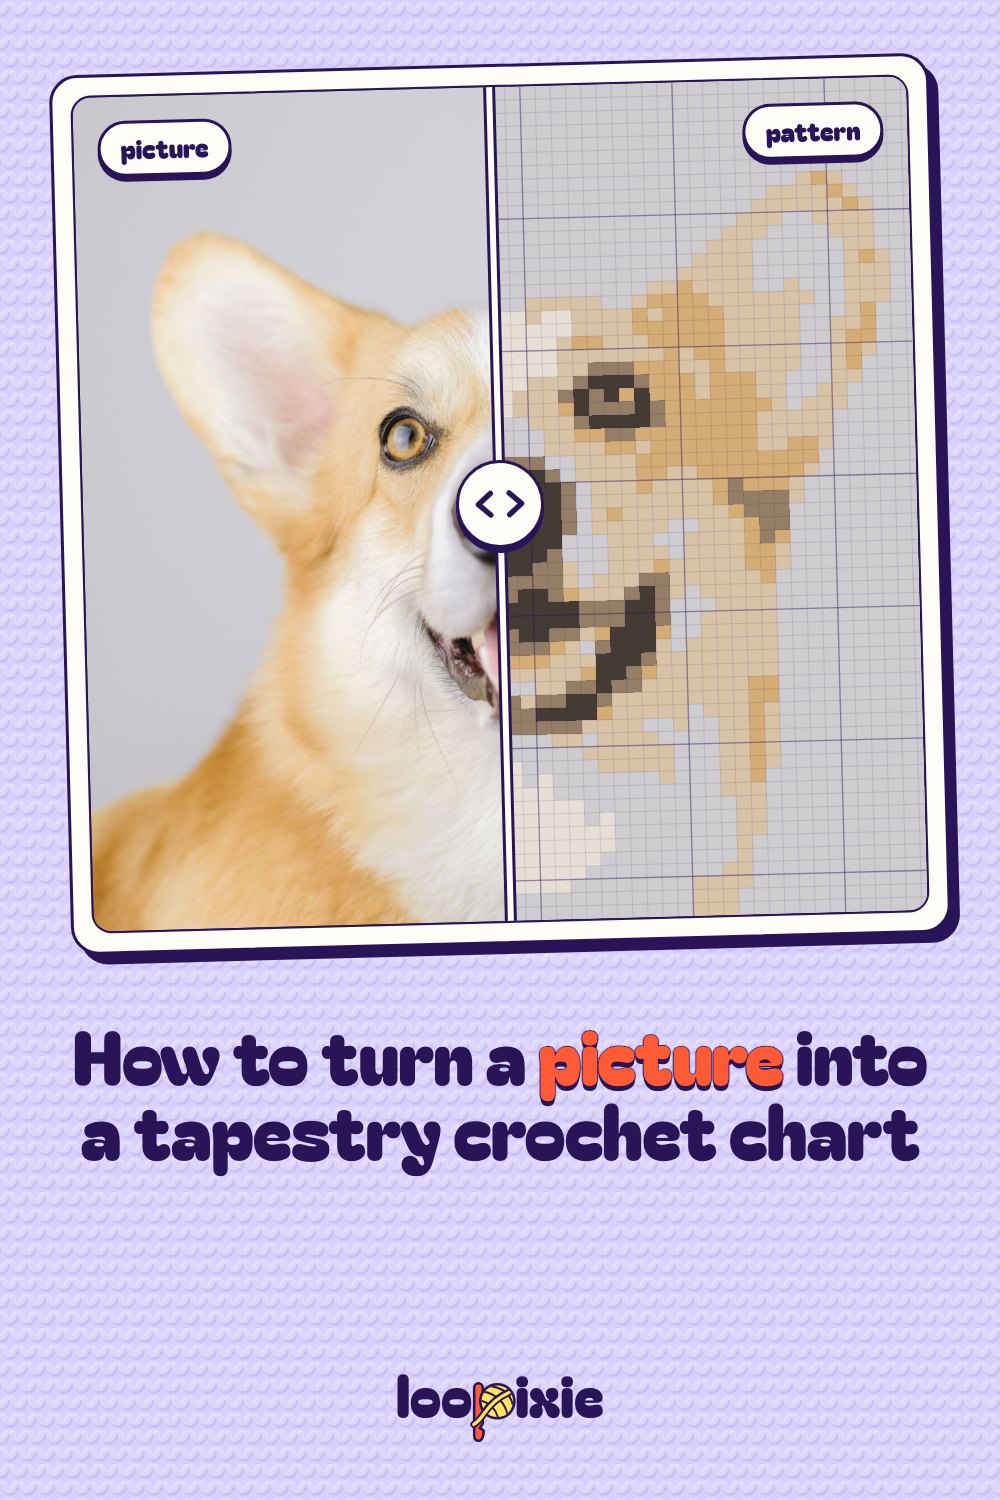
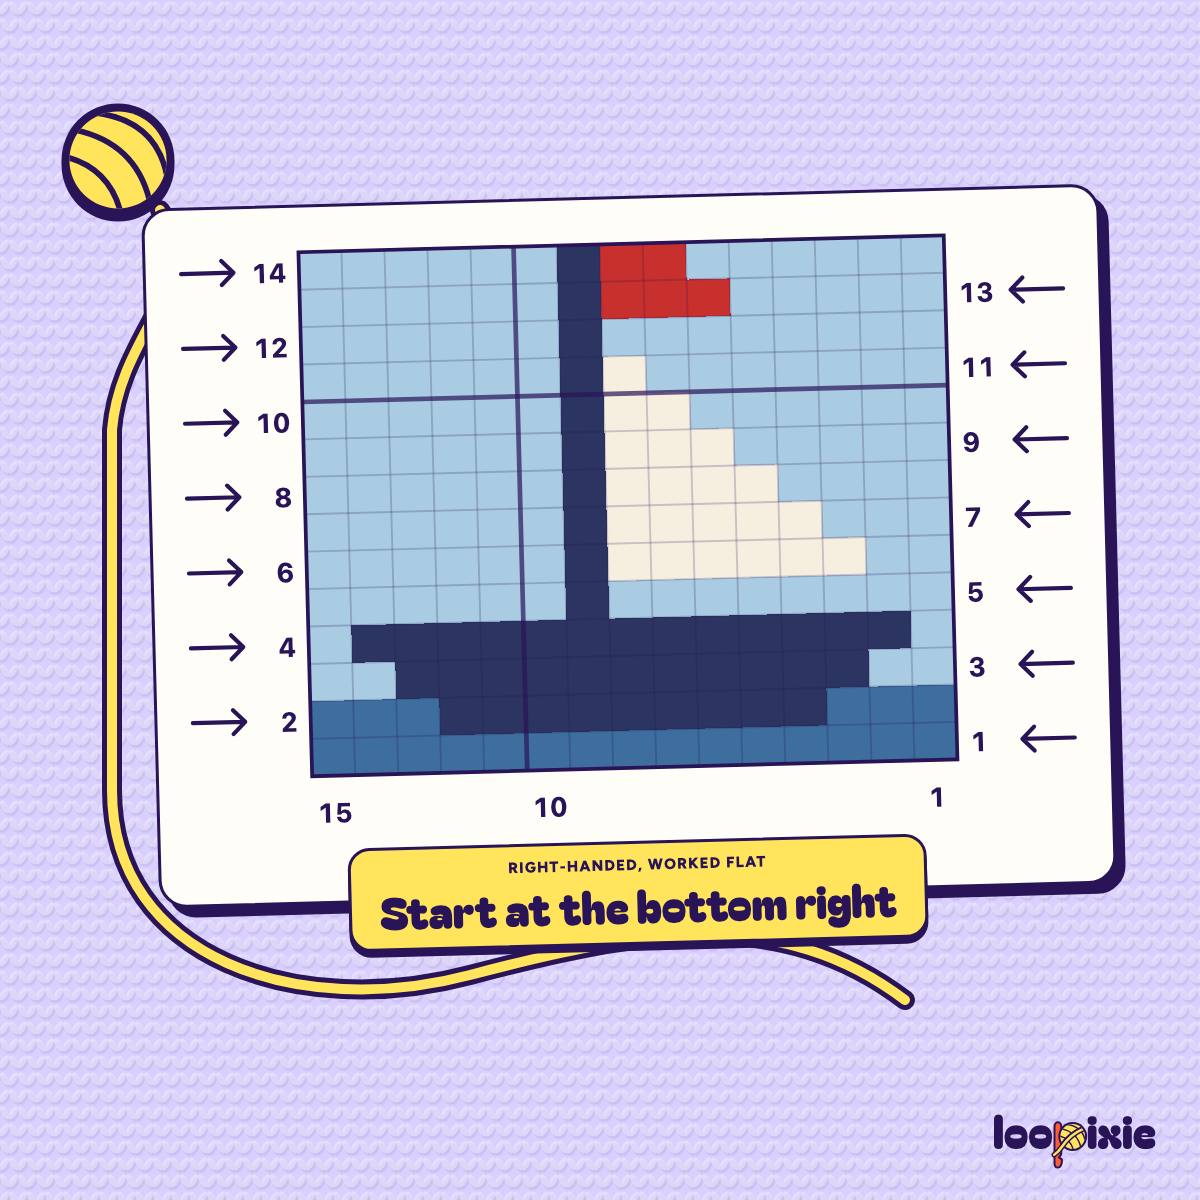
A tapestry crochet chart is a grid. One square is one stitch, one line of squares is one row, and the color of each square is the yarn you use for that stitch. You work it row by row, changing color where the squares change. The corgi chart at the top of this page is 56 stitches wide and 63 rows tall, in six yarns.
Which pictures make good charts?
A chart has far fewer squares than a picture has pixels (the 56-stitch corgi is 3,528 squares), so the picture has to be simple enough to survive that. Look for four things:
- Bold shapes. A head, a body, a tail. Whiskers and fur texture mostly disappear at these sizes.
- Few clear colors. Shading and fine detail can turn into scattered single stitches, and every shade you keep is a yarn to find in a shop.
- A plain background. A busy one turns into speckles you have to clean up.
- A tight crop. Crop to what you want in the chart; for a pet portrait, try close around the head.
From a photo, the best subject is lit from the side and has clear light, medium and dark areas. Our corgi photo has most of that: the face fills the frame, the fur goes from light to dark, and the wall behind it is plain gray. The closer your picture is to that, the easier the rest.
How many stitches wide should the chart be?
The width in stitches decides two things at once: how much detail the chart can hold, and, together with your gauge, how big the finished piece is.
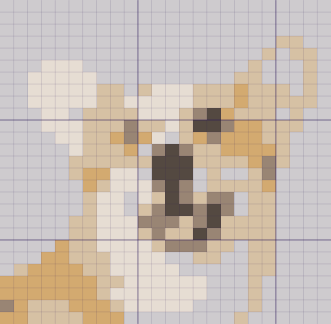
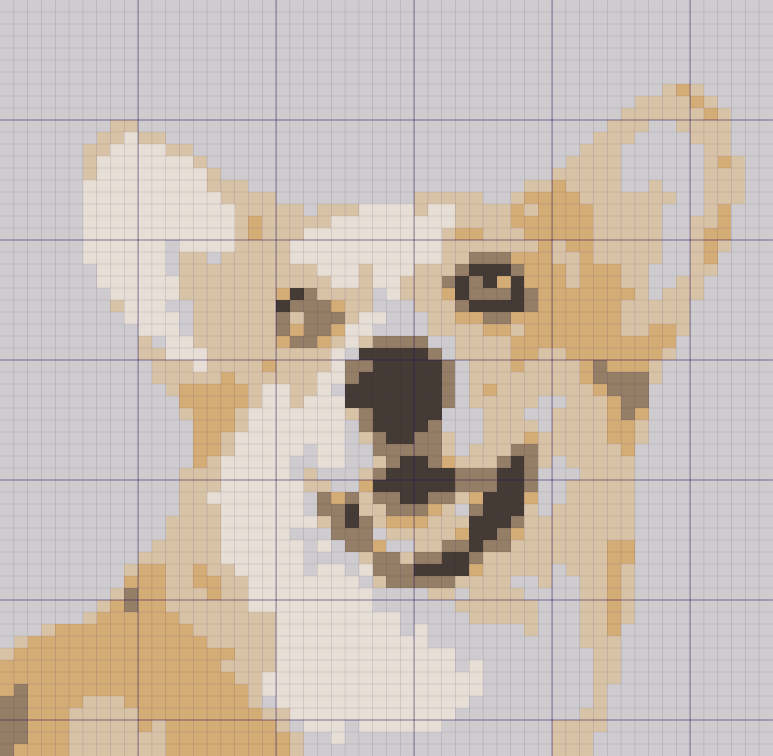
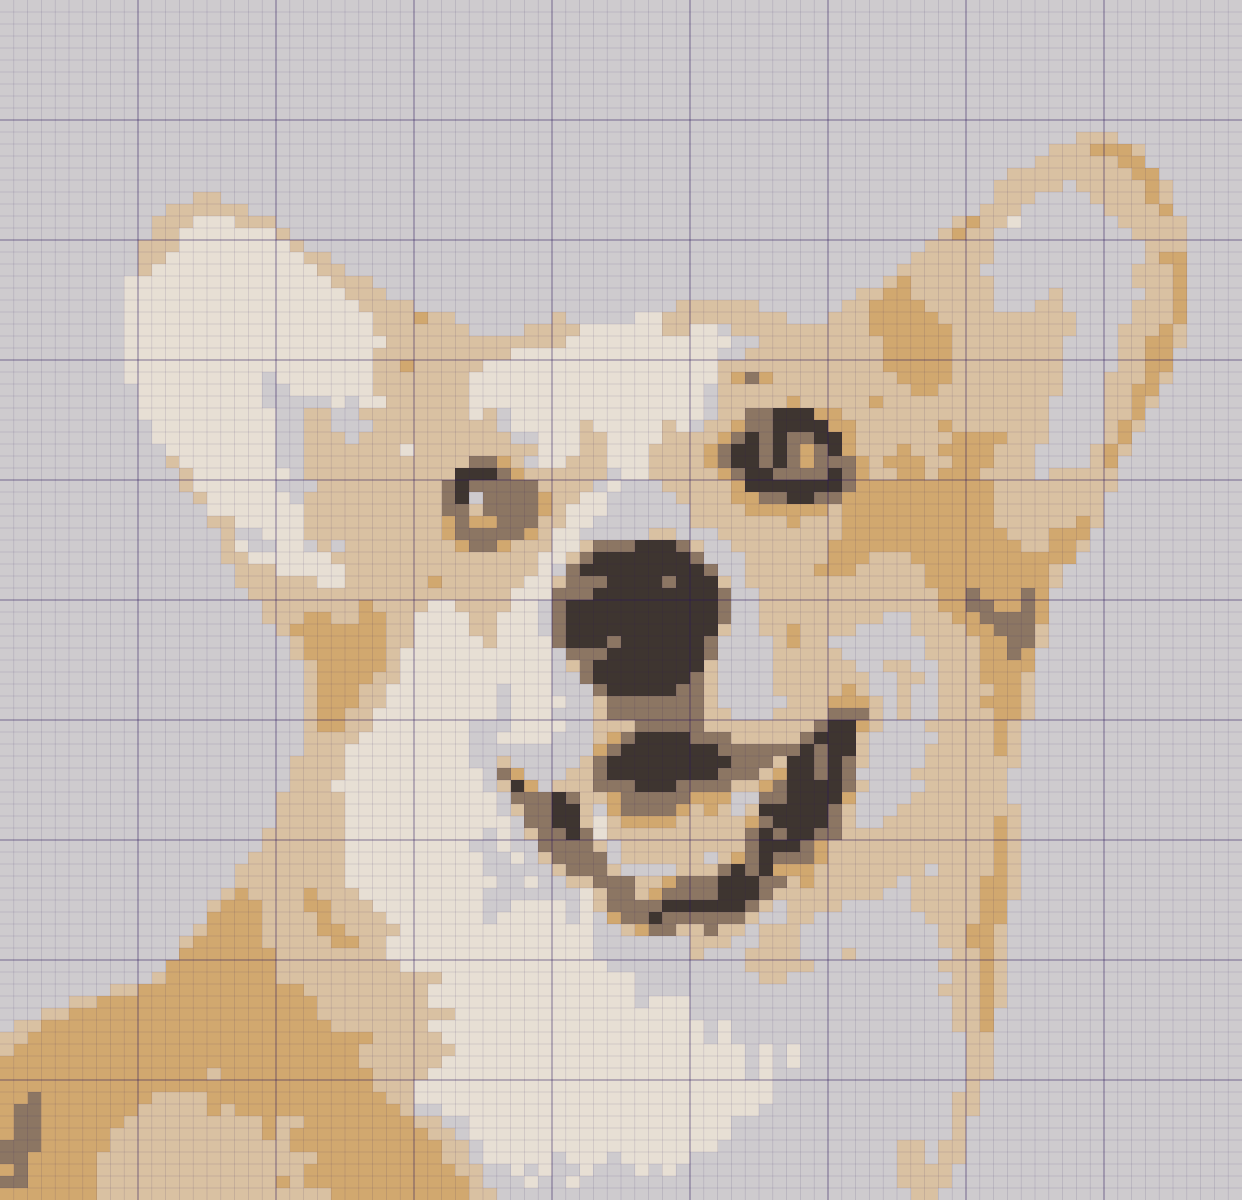 The same corgi at 24, 56 and 90 stitches wide, as the engine made them.
At 24 stitches the nose and the open mouth run together into one dark patch and the eyes are a few stitches each: it is a dog, but not yet this corgi. At 56 the nose, the smile, the ears and the white chest all read, and so does one eye (the other needs a small fix, below); it is a good size to start with. At 90 the outline is smooth and every shape in the face has room, but that is 9,000 stitches, about two and a half times the 56-stitch corgi.
To estimate the finished size, crochet a swatch in your yarn and hook, carrying yarn as you will in the piece, and count the stitches and rows across the middle 4 inches (10 cm). Say, as a made-up example, 16 stitches and 20 rows. Then 56 stitches is 14 inches (36 cm) wide and 63 rows is about 12 and a half inches (32 cm) tall. At that same gauge the 24-stitch corgi is a 6-inch (15 cm) patch and the 90-stitch corgi is about 22 and a half inches (57 cm) across. Your numbers will differ; the swatch gives you a practical estimate.
How many colors do you need?
Fewer than you think. More colors usually means more strands to carry and more color changes, more balls to tangle when you turn, and more yarns to match in the shop. For a picture blanket, about five yarns is a good start, and more than ten is rarely needed.
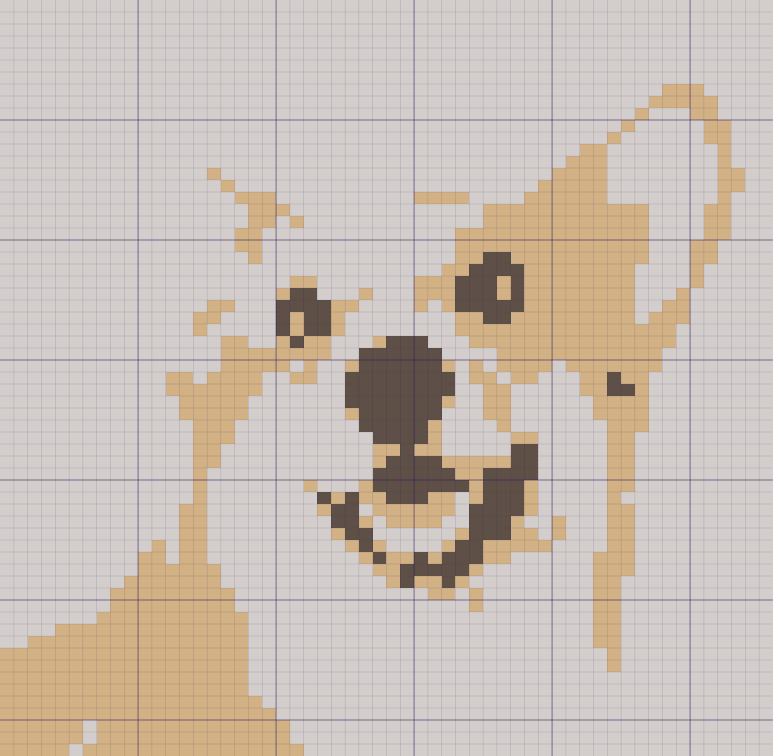 The 56-stitch corgi in three yarns and in six.
With three yarns, the white of the muzzle, the chest and the ear on the left all turn the same gray as the wall, so the dog loses half its outline. The eyes, nose and smile are still there, but the face floats on the gray. With six, the white fur is back and it is our corgi. A good rule of thumb is the smallest number where the things you care about still show: the eyes, the mouth, the one marking that makes your pet yours.
What should you fix before you start crocheting?
Treat a crochet graph from a picture as a first draft. Zoom in and look for three things.
Stray stitches. A photo’s soft shading turns into speckles: in the 56-stitch corgi, 80 stitches sit alone, each a different color from all four of its neighbors. A single stitch costs two color changes: keep it if it is an eye highlight, change it to the color around it if it is noise.
Eyes and small details. In a portrait the face is what people recognize, so spend your care there. In our corgi chart the engine drew the eye on the left as a broken brown smudge: in the photo, a reflection of the light covers most of that pupil. Changing six stitches by hand made it a dark ring with a light spot, like the other eye.
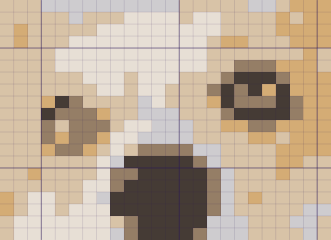
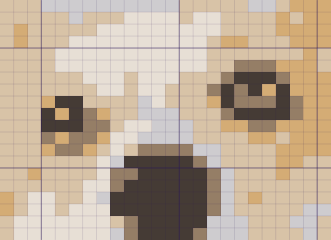 The eyes as the engine made them, and after six stitches by hand.
Keep the eye highlights where they help, simplify the mouth to one clean line if that reads better, and do not be afraid to move a stitch off where the picture “really” had it. A chart that is a little off but clearly your pet beats one that is exact but hard to read.
A clean outline. Along a long edge, smooth an outline that steps one stitch in and out where the steps are not part of the shape. Long runs of one color also mean fewer color changes.
Why does a chart on square paper come out squashed?
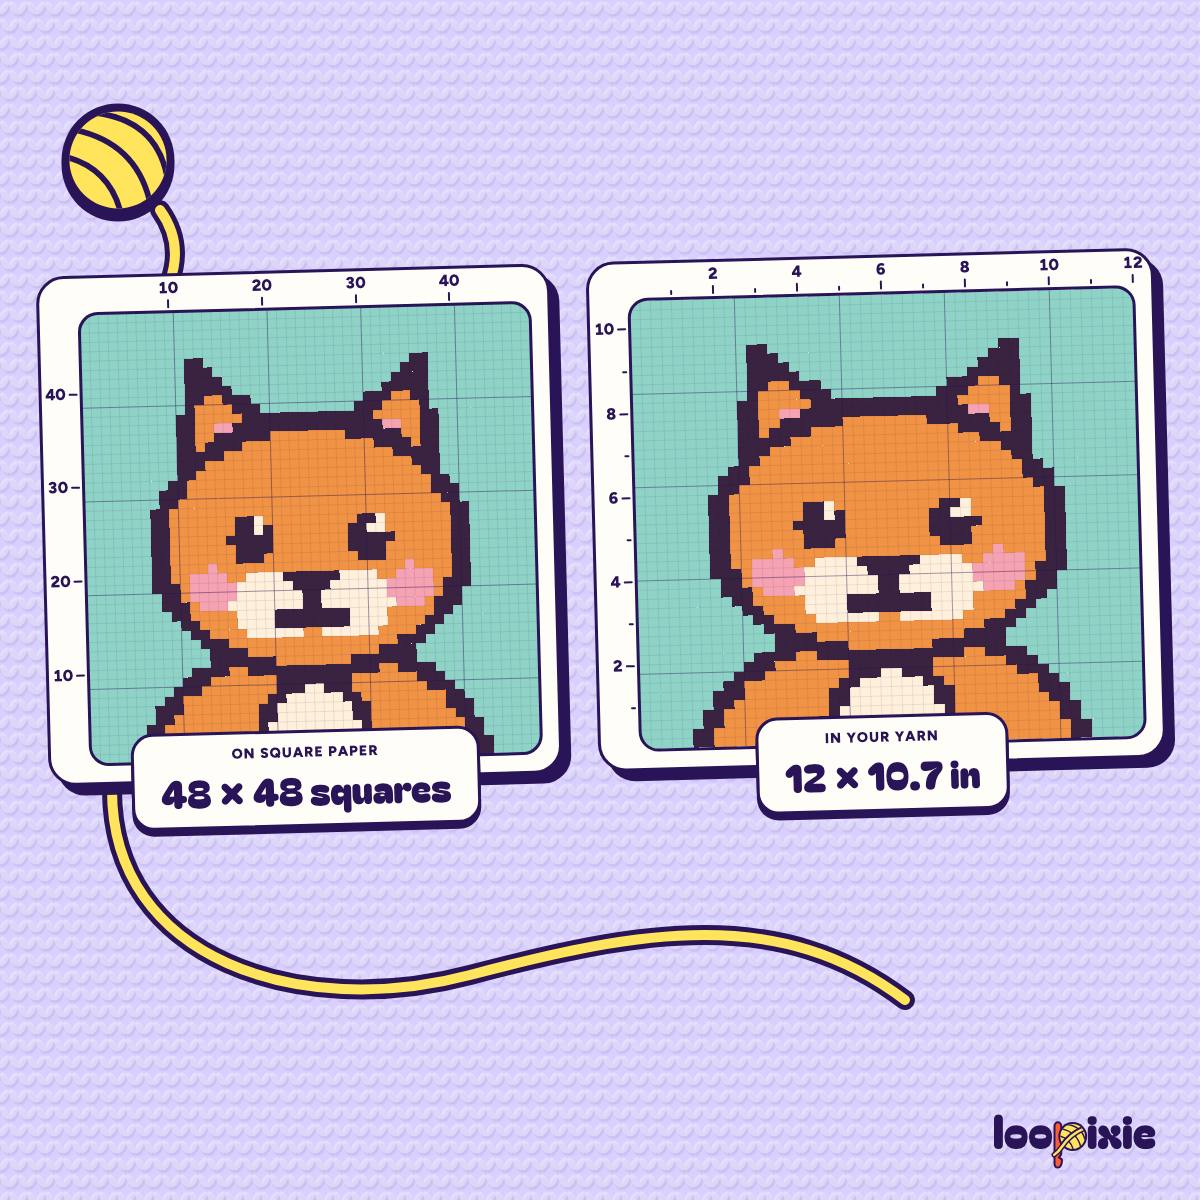
Do not assume your stitches are square. Their shape depends on your yarn, hook, tension and how many strands you carry, and each extra strand makes the stitches a little taller. Plain single crochet often works up a little wider than tall, as in the 16 by 20 example above. Some patterns run the other way: one published thread basket has 10 stitches and 9 rows to the inch, taller than wide.
So a chart drawn on square graph paper and worked one stitch per square comes out a different shape from the drawing whenever your stitches are not square: wider and shorter if they are wider than tall, taller and narrower if not. A round face becomes an oval either way. That is one reason tapestry crochet graph paper exists (some sheets also allow for how the stitches slant and stack).
The charts in this article use cells 1.15 times as wide as tall, one example setting, not a rule. The ratio that counts is your own swatch’s, worked with the yarns you will carry. What to do about it is in How big will my tapestry crochet be?.
What do you need before the first row?
A swatch, worked the way you will work the piece. Tapestry crochet wants stitches firm enough to hide the carried yarn, but not so tight that the fabric puckers. A swatch with the same number of carried strands as your piece shows whether your hook size gets that balance, and gives you the stitch and row counts for the size and shape above.
Yarn per color. The chart gives you a stitch count per color: in the 56-stitch corgi at the top of this page, 1,823 light gray, 692 beige, 439 cream, 352 tan, 122 brown and 100 almost black. Weigh your swatch, divide by its stitches, and multiply by the whole chart for a fair estimate of the total. Splitting that total by the counts per color is only a rough guide, because the yarn you are not using rides along inside the other colors’ stitches and uses yarn where it does not show. Buy generously: add about ten percent to the estimate, so you do not run short near the end.
A way to keep your place. On paper: highlighter tape or a sticky note over the finished rows, a row counter, and a pen mark every ten squares so you count less. On a phone: if your app marks the row and the stitch you stopped at, you can put the work down mid-row and pick it up without recounting.
Then start. For a first piece like this corgi, try around 50 to 60 stitches wide and five or six yarns, fix the face, and swatch with the strands you will carry. That gives the picture its best chance of still being your pet when it comes off the hook.