Save to Pinterest
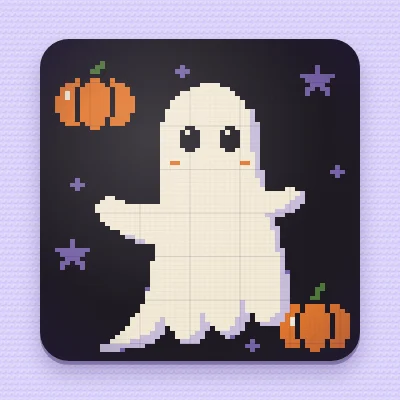
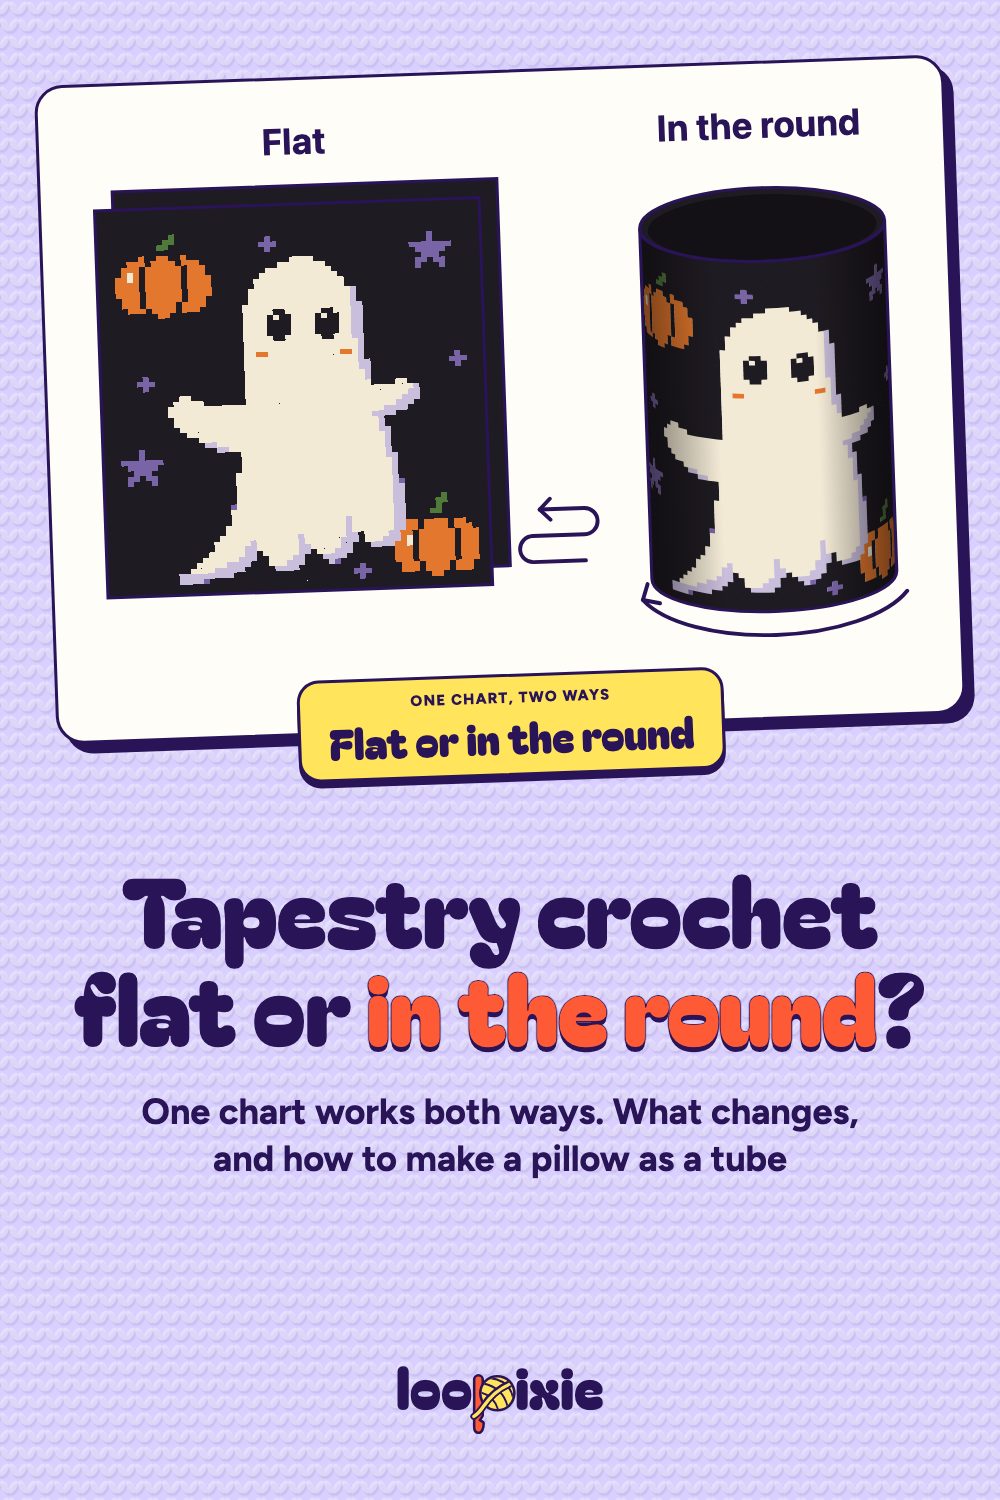
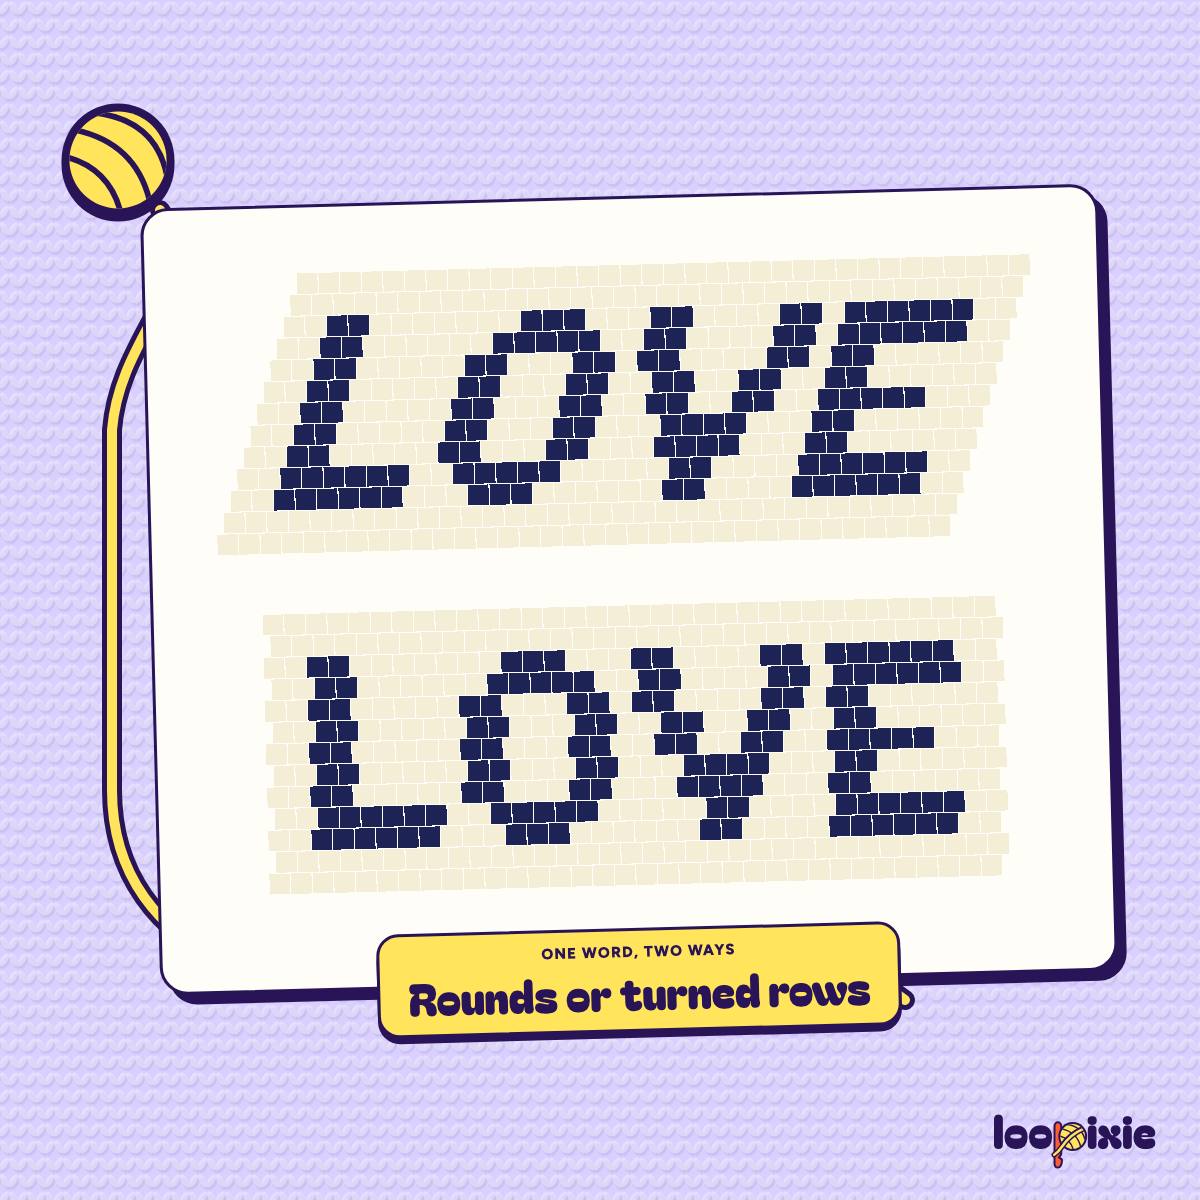
Yes, for a chart that keeps the same width all the way up, like our pillow charts. The squares give the color of every stitch, flat or in the round. What changes is the order you work them in and how the fabric comes out. Here, flat means rows you turn, and in the round means rounds without turning:
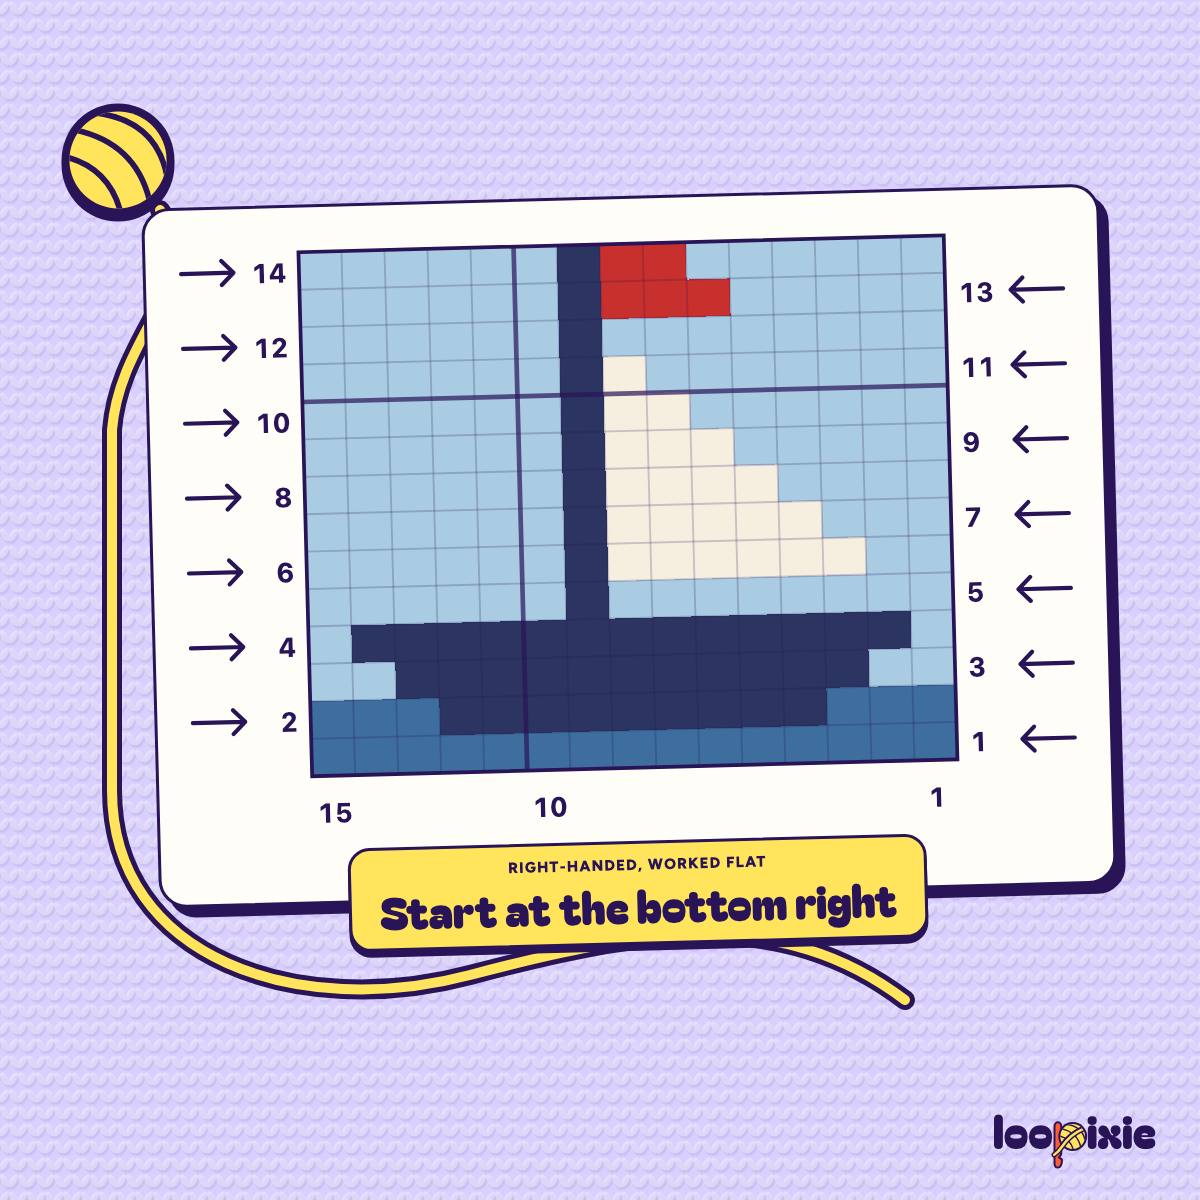
- Which way each row goes. Flat, you turn at the end of each row, so every other row goes the other way. In the round, the front always faces you, and every round goes the same way.
- The written rows. Rows written for flat work give every other row in the other order for rounds.
- The look of the stitches. Turned rows show the front of the stitches on one row and the back on the next. Rounds show the front every time, and lean a little.
- The start of each round. Where one round ends and the next begins, a small step or a seam can show.
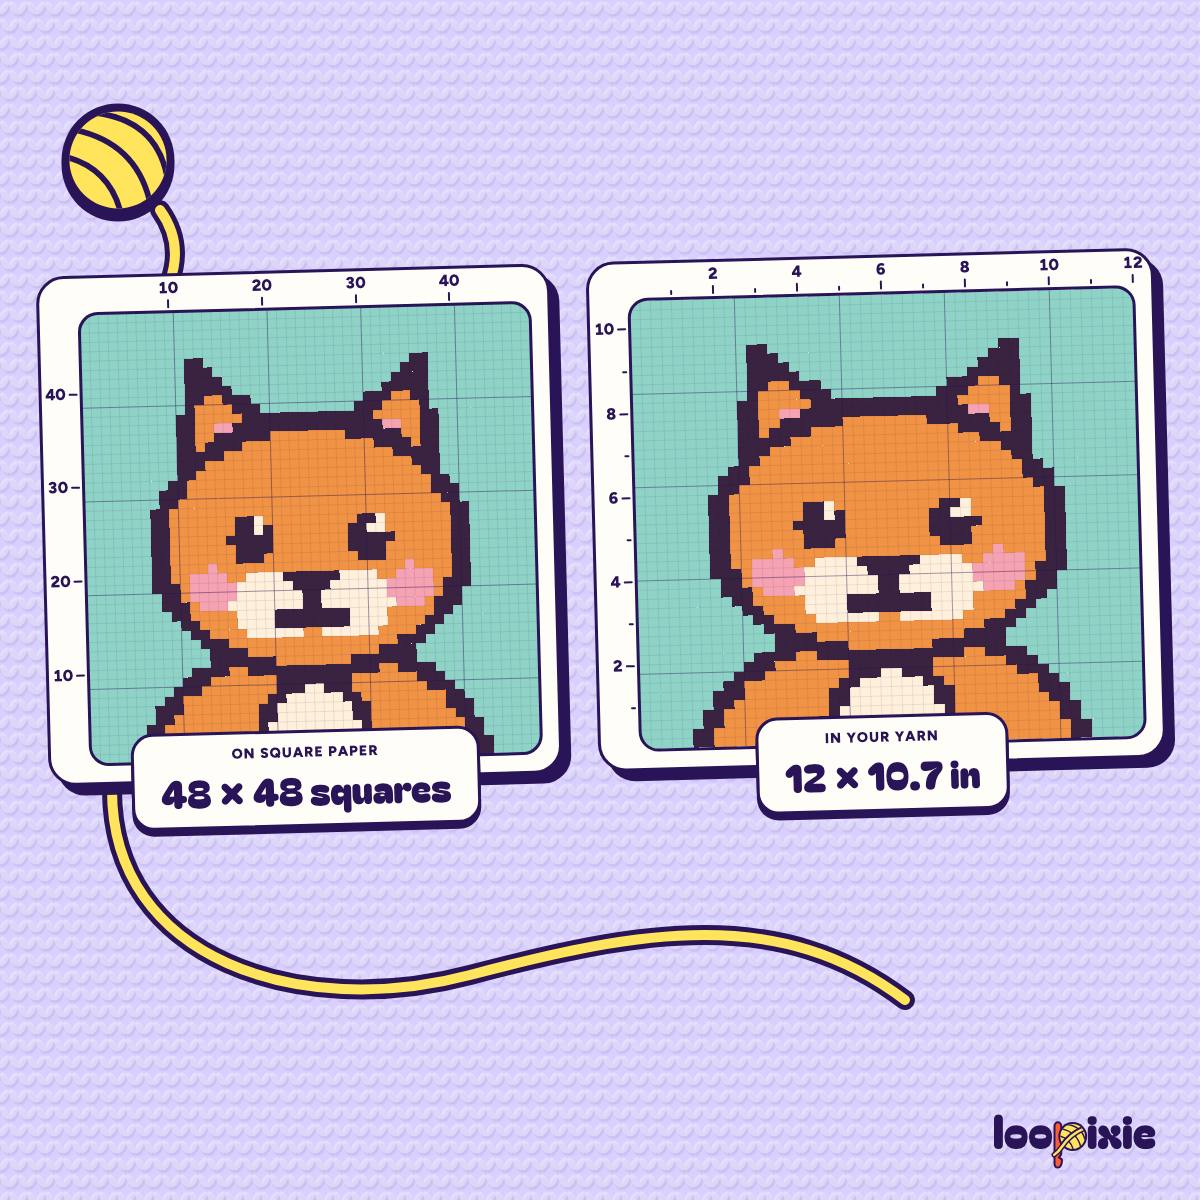
- The size. The same yarn and hook can measure differently in rounds.
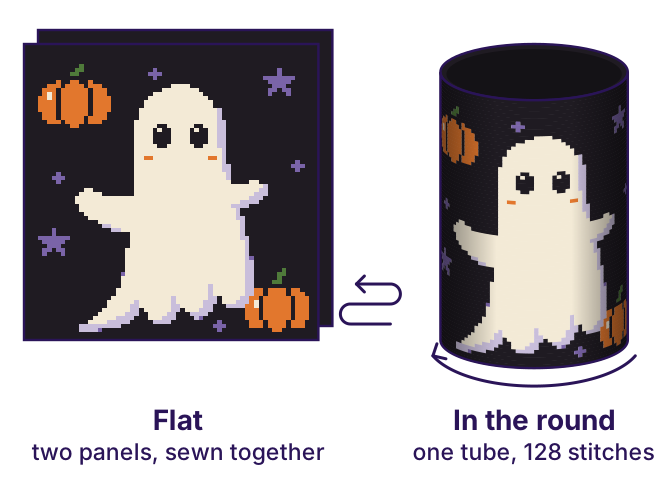 Our ghost pillow two ways: two panels sewn together, or one tube.
A chart with shaping, like the increases of a hat, or with changes drawn in to offset the lean of rounds, needs a closer look before you switch.
How does the fabric change?
A single crochet stitch looks different from the front and from the back. The front shows a small V; the back shows a small bump and an upside-down V.
- Flat, turning each row: each side of the piece shows the front of the stitches on one row and the back on the next. The picture is the same, but the texture changes from row to row.
- In the round, without turning: the outside shows the front of every stitch, so the texture is even. But the top of each single crochet sits a little to one side of its base, and round after round the shift adds up: the picture leans. Turned rows cancel this out, because every other row leans the other way.
Neither way hides the carried yarn by itself. Whether it shows through depends on your tension and on how much the colors contrast. When you turn, bring the carried yarns around the end of the row and lay them along the top for the way back, without pulling them tight. Keep them toward the wrong side of the piece, which is away from you on one row and toward you on the next. Turning also twists the yarns together; turning one way and then the other untwists some of it.
To reduce the lean in rounds, some crocheters work in the back loop, or wrap the yarn under the hook instead of over it. Others join each round and turn, so the rounds go back and forth like flat rows: the lean evens out, and the texture alternates again. Try any of these on a swatch first. What each one costs, and how far the lean goes: Why is my tapestry crochet slanted?
Where does a round start?
Each round goes once around, and the next one begins where it ended. In spiral rounds, a color change there can leave a small step. In joined rounds, the join can show as a seam or a bump. Some methods make these much less noticeable, but check how they look on your swatch.
So put the start where the color does not change. On a pillow, that is a side, in the background color. We checked our 16 pillow charts: in 12 of them, both side edges are the background color in every row. On our ghost pillow, every round would start in plain graphite. As the stitches lean, the start can creep a little to one side, so mark the first stitch of every round and keep an eye on it.
Can I use the written rows in the round?
The odd rows, yes. Our written rows are for right-handed flat work, so every even row starts at the chart’s left edge. In the round, every round starts at the right edge, so the colors of an even row come in the other order.
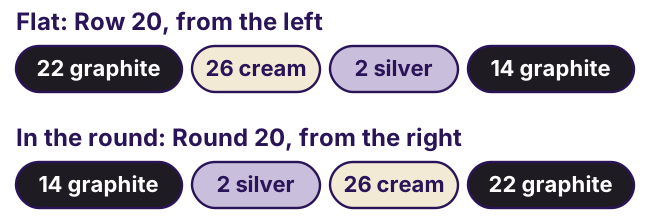 Row 20 of the ghost, written for flat work and for rounds: the same colors in the other order.
In our ghost pattern, 33 of the 37 even rows change like this. The other 4 read the same both ways. To use them in the round, read each even row from its last color back to its first, keeping each color’s count. Or follow the chart: How to read a tapestry crochet chart shows which way each row goes, flat and in rounds.
How do I make one of your pillows in the round?
Our free pillow patterns are written flat: the chart as a front panel, 64 stitches by 74 rows, and a plain back panel of the same size, joined around the edges. In the round, the front and the back become one tube:
- Make a ring. Chain 128 in the background color and join the chain into a ring with a slip stitch into its first chain, without twisting it.
- Round 1 is the chart’s Row 1. Chain 1 (it does not count as a stitch) and work one single crochet into each chain: the chart’s Row 1 from the right for the front, then 64 stitches in the background color for the back. That is 128 stitches. Mark the first stitch of the front and the first stitch of the back.
- Join each round. Slip stitch into the first stitch, chain 1, and work the next row of the chart the same way, from the right. The 74 rows of the chart make 74 rounds.
- Carry the colors around the back too. At the end of the front, the yarns you carry are at its left edge, and the next round needs them back at its right edge, so they ride inside the back’s stitches all the way around. A light yarn can show through a dark back. When you will not need a color for several rounds, cut it and join it again later, as the pattern says.
- After the last round, flatten the tube with the start of the rounds at one side, close the bottom through both layers, put in the pillow insert, and close the top.
We have not made the tube ourselves yet, so check your size before you start (next question). The front is the same chart either way.
Will it come out the same size?
Not always. In one comparison in plain single crochet, with the same yarn and hook, rounds came out with slightly fewer stitches and clearly fewer rows to 4 inches (10 cm) than turned rows. At those numbers, the same stitches and rows make a piece about 3% wider and 10% taller in rounds: a 16-inch pillow would come out about 16.5 inches wide and 17.5 inches tall. Your own numbers may differ either way.
So swatch the way you will work: in rounds if you will work in rounds, carrying as many colors as the pillow does, and finished the same way. Measure the stitches and the rows. Our pillows aim for 16 stitches and about 18.5 rows in 4 inches (10 cm). The size calculator shows what size your own numbers give, and how many stitches you need for the size you want.
Can I work flat without turning?
Yes, if you want the even look of rounds on a flat piece. Start every row at the same edge: fasten off the yarns at the end of the row and join them again at the start of the next. There are two costs. In single crochet through both loops, the picture leans, just as it does in rounds, because every row shifts the same way: Why is my tapestry crochet slanted? explains why and what helps. And the ends: if you cut every yarn at the end of every row, our ghost would leave 246 pieces of yarn, so 492 ends to secure.
Some crocheters avoid the ends by working the way back with their other hand, or by crocheting backward, so the front of the stitches always faces the same side. Both take practice.
Whichever way you choose, a chart like ours stays the same; only the order of the stitches changes. Decide before you start, swatch that way, and check the first few rows against the chart.