Save to Pinterest
Because a single crochet stitch is not quite symmetrical. Its top sits a little to one side of its base: to the right if you crochet right-handed, to the left if you crochet left-handed.
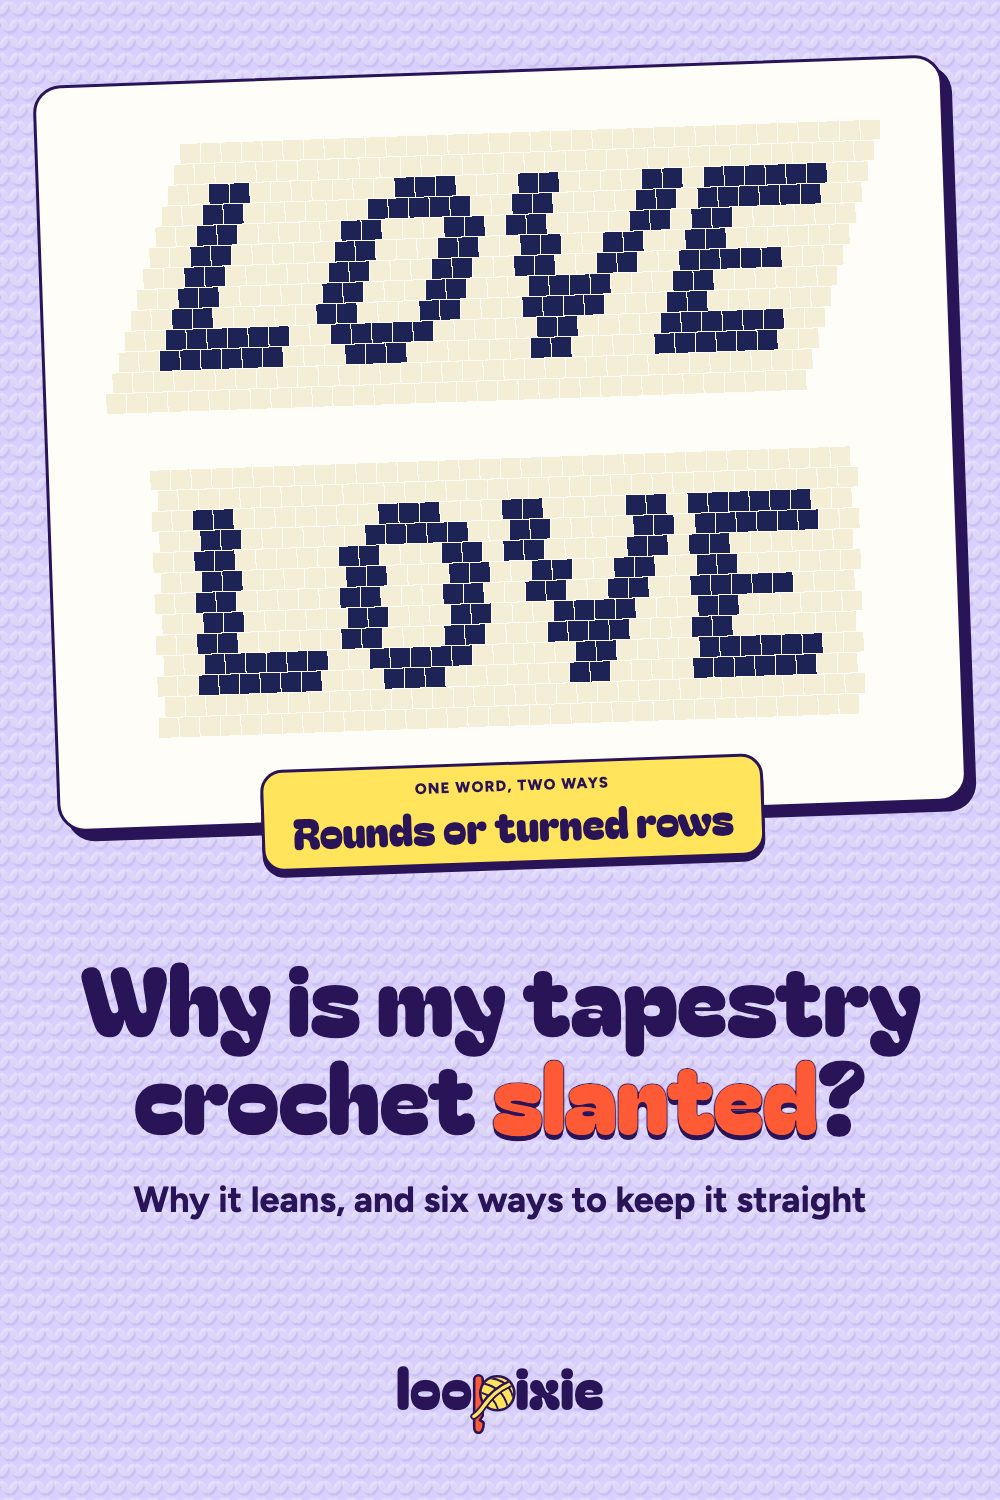
In rows you turn, it evens out: every other row leans back the other way, and the picture stays upright. But when every row is worked from the same side, in the round or flat without turning, the shift adds up row after row, and the picture leans like italics.
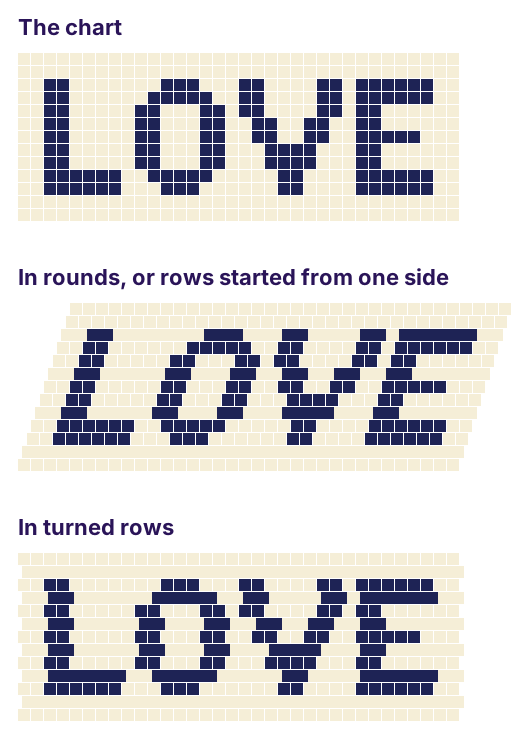 Drawn by us to show the idea, not measured: here each row sits a third of a stitch further over.
So the fix depends on how you work. Turning evens it out; there are five more ways below. Each one changes something else too, so try it on a swatch first.
Which slant do you have?
People say “slanted” about a few different things. Find yours first:
- The picture leans, row after row, in one direction. That is the stitch lean this article is about. It usually happens in rounds worked without turning, like a bag or a hat, or in flat rows all started from the same side.
- The edges are wavy, pulled in, or the piece is out of square. That is usually tension or the stitch count, not the lean. See What if the edges are crooked?
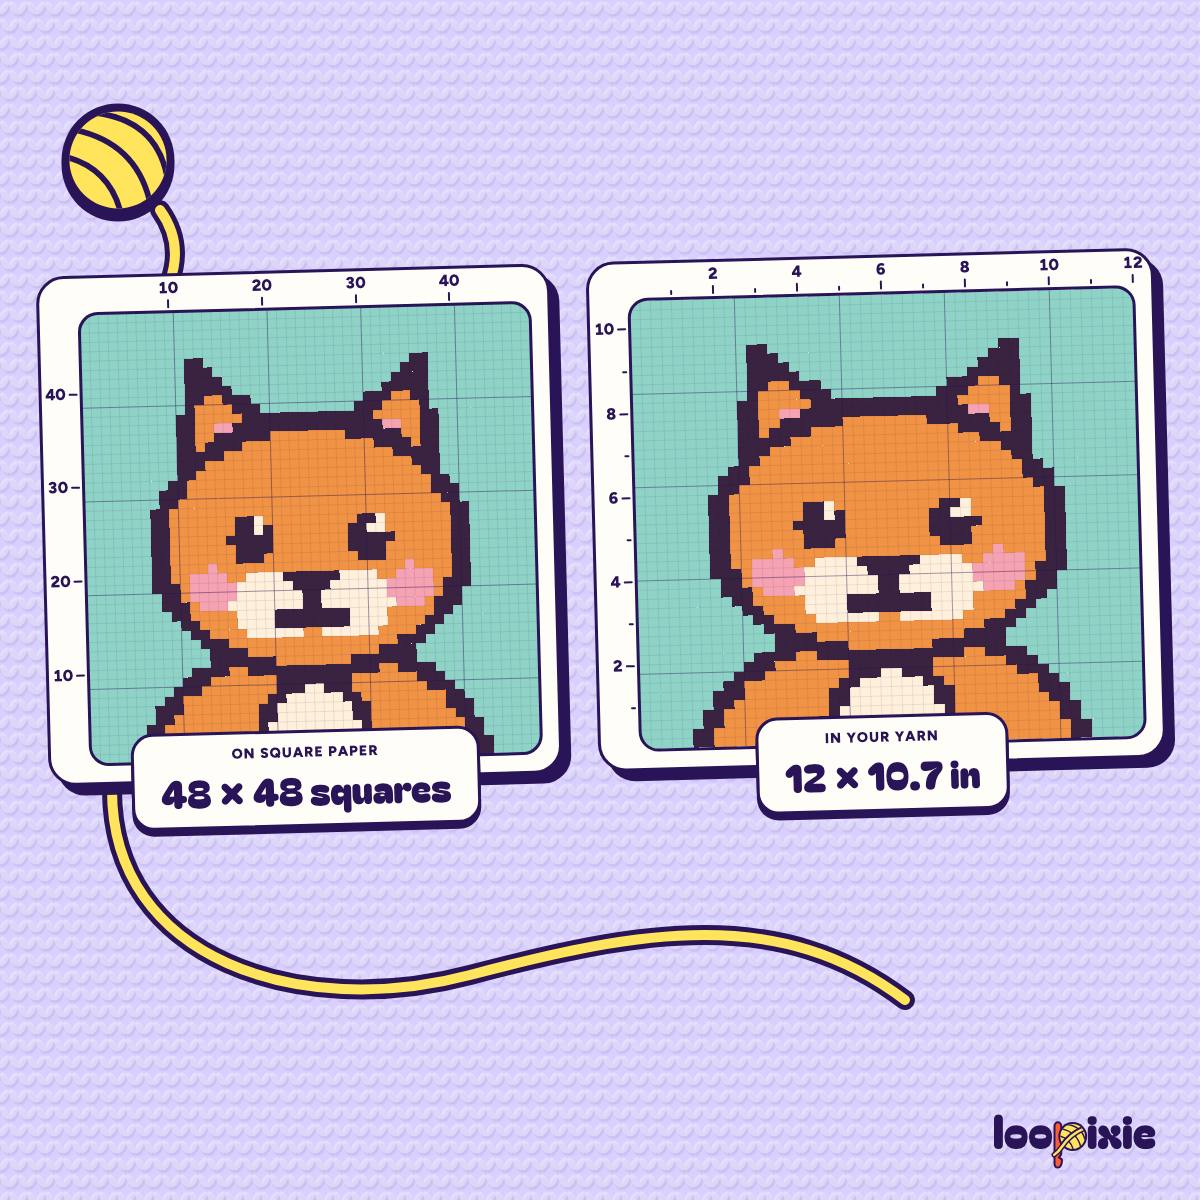
- The picture looks too tall and narrow. Check the shape of your stitches: if they are taller than wide, a picture charted on square paper comes out taller. How big will my tapestry crochet be? shows how to check it.
- Words come out mirrored or backwards. Check the direction you read the chart in, which depends on your hand and on rows or rounds. See How to read a tapestry crochet chart.
Why does single crochet lean?
Each single crochet sits between two stitches of the row below, and its top loop sits a little to one side of its body. Work a row, and every stitch in it is shifted the same small amount.
- In rows you turn, the next row goes the other way, so its shift goes the other way too. Row by row it evens out. The stitches still lean, a bit one way, then a bit the other, so straight lines in the picture zigzag slightly.
- In rounds, or in rows always started from the same side, every row shifts the same way, and nothing brings it back. A line that should go straight up drifts sideways and climbs like italics: to the right for a right-handed crocheter, to the left for a left-handed one.
How much? It depends on your yarn, your hook and your hands. One tutorial puts it at half a stitch per round; a published graph paper for rounds is drawn with less, about a quarter of a stitch by our measure. At those rates, 20 rounds would move a line 5 to 10 stitches sideways. We found no measurement in real fabric, so measure your own: crochet a stripe 2 to 4 stitches wide, straight up for 10 rounds, worked the way your project will be, and see how far it moves.
Two more things to know. Taller stitches make the same sideways shift look like a smaller tilt, and every extra yarn you carry makes the stitches a little taller. And not every stitch leans the same way: extended single crochet is said to lean the other way.
How do I keep it straight?
Six ways. The first two even the lean out; the next three can reduce it; the last one moves the picture against it.
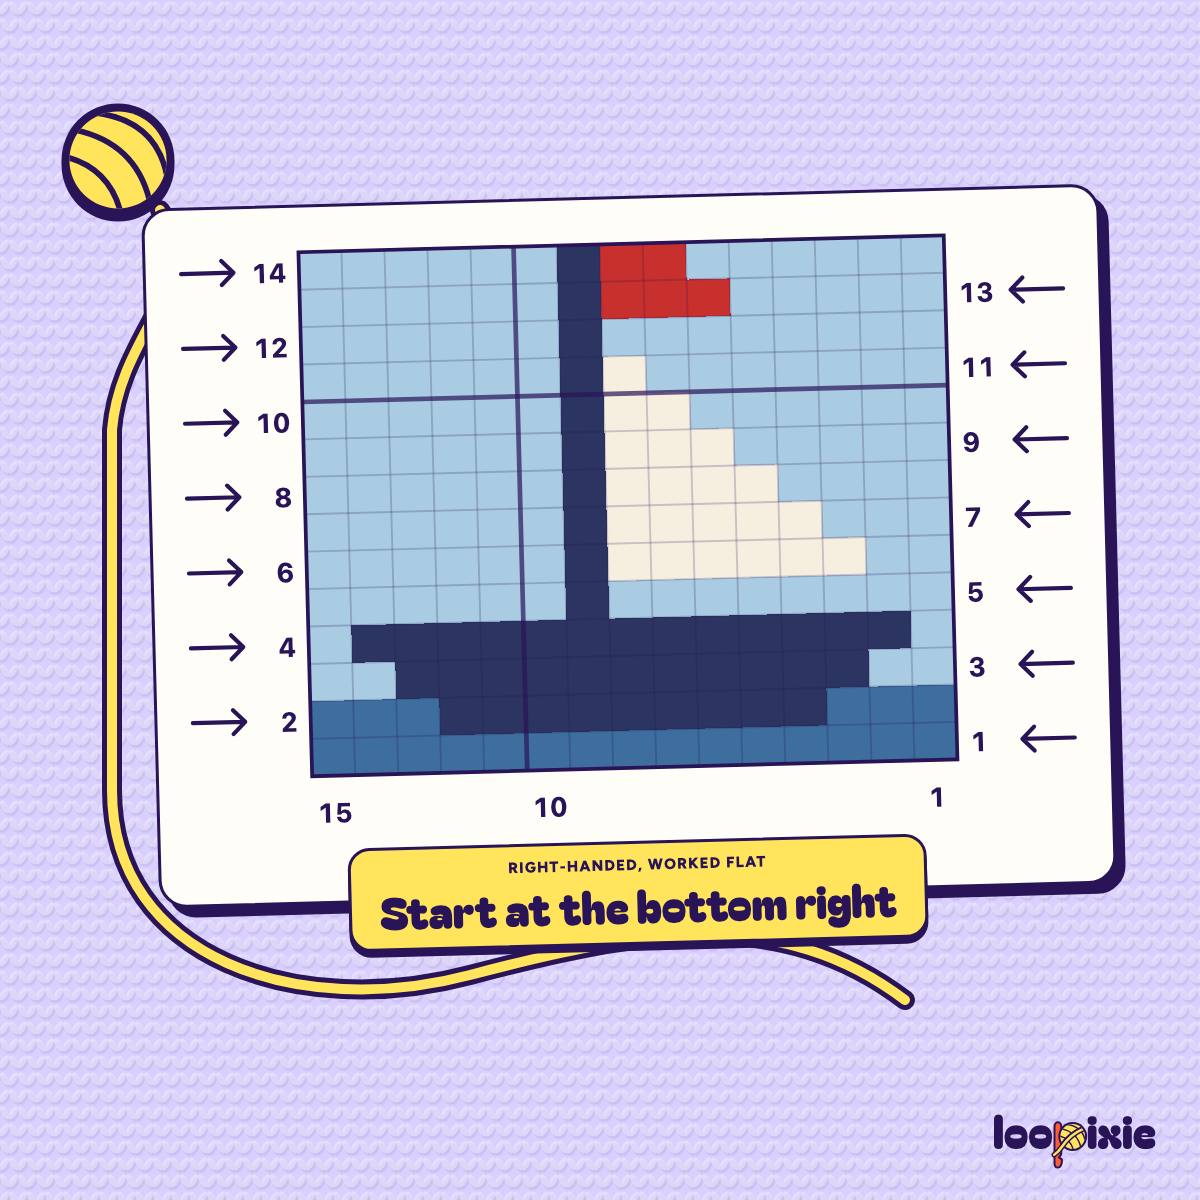
- Turn every row. For flat pieces: chain 1 and turn at the end of each row, and read the chart from right to left, then left to right (the other way round if you are left-handed). What it costs: the back of the stitches shows on every other row, and vertical lines zigzag a little.
- Join and turn every round. For tubes, like bags and hats: at the end of a round, slip stitch into the first stitch, chain 1 and turn. Neither counts as a stitch: work one single crochet in each stitch around, so every round keeps the same count. Every other round is worked from the inside, so read the chart the other way on those rounds, and keep the carried yarn toward the inside of the tube, which then faces you. The lean evens out the same way it does in turned rows, with the same zigzag and alternating texture. Joining without turning does not stop the lean.
- Work in the back loop only. It helps the stitches stack more upright; reports differ on how much. What it costs: a small bar across the front from the unworked loop, and taller stitches, so the picture can look stretched. In turned rows the back loop makes ridges, so it suits rounds, or flat rows worked from one side.
- Wrap the yarn under the hook. When you pull up the loop, catch the yarn with the hook from above, so it goes under the hook instead of over it, then yarn over and pull through both loops as usual. (Some tutorials put the yarn under on that last step instead; try one at a time.) It can reduce the lean, the color changes look sharper, and less of the carried yarn shows, but many crocheters still see some slant. What it costs: the fabric may come out smaller and firmer. Some combine it with the back loop only, in the round; how upright that stays varies.
- Work into the center of the stitch. Center single crochet, also called waistcoat stitch, goes through the middle of the stitch below, between the two legs of the V you see on its front, instead of under the two loops at its top, so the stitches stack more directly. Some crocheters say it fixes the lean, others that it still slants slightly. What it costs: the fabric is dense and harder to work, you may need a bigger hook, and the rows come out shorter.
- Shift the chart. Leave the stitches as they are and move the picture against the lean: for example, one stitch to the left every few rounds if you crochet right-handed, to the right if left-handed. Measure your own drift on a swatch first, and keep the stitch count of every row the same.
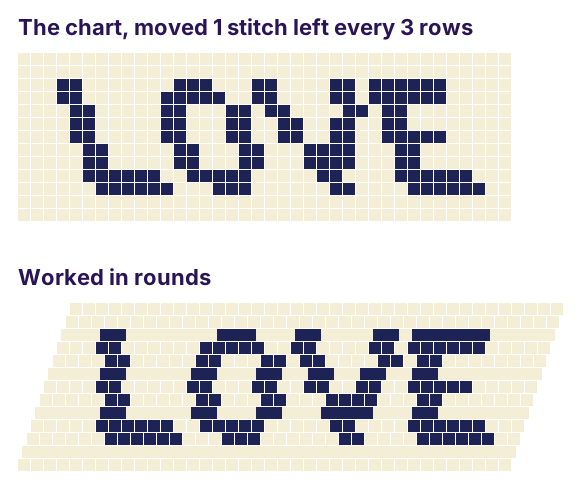 Shifting the chart: the letters lean the other way on paper and come out upright, though the stitches still lean. Drawn, not measured.
Changing how you make or turn the stitches can change your gauge, so swatch the new way and check your size with the size calculator before you start the real piece. Shifting the chart alone does not change it.
Will blocking straighten it? We found no reliable evidence that it removes the lean, though some crocheters suggest trying it. It does help with the next problem.
What if the edges are crooked?
A flat piece in turned rows does not build up the lean, so if it comes out wavy or out of square, look for one of these first:
- Carried yarn pulled tight. It pulls the sides in. Lay the colors you carry along the top of the row below without gathering the stitches; do not pull them tight, especially at the ends of rows.
- A tight foundation chain. It curves the bottom edge. Chain more loosely, use a bigger hook for the chain only, or use foundation single crochet in place of the chain and the first row.
- A stitch gained or lost at the ends. The turning chain 1 does not count as a stitch: work the first stitch into the first stitch of the row below and the last into the last. Count each row; in our pillows, every row has 64.
- Tension that changes as you go. Rows that loosen up as the piece grows make it wider at the top. Check your gauge partway through.
Then block it, following the yarn label and testing on your swatch first. Cotton and wool are usually wet blocked and pinned square while they dry. Acrylic is a special case: some yarn makers suggest gentle steam, with the iron held above it and never touching it, and others say not to steam it at all, so go by its label. If a tube twists as a whole, not just its picture, one possible cause is a starting ring that was twisted when you joined it.
What about your patterns?
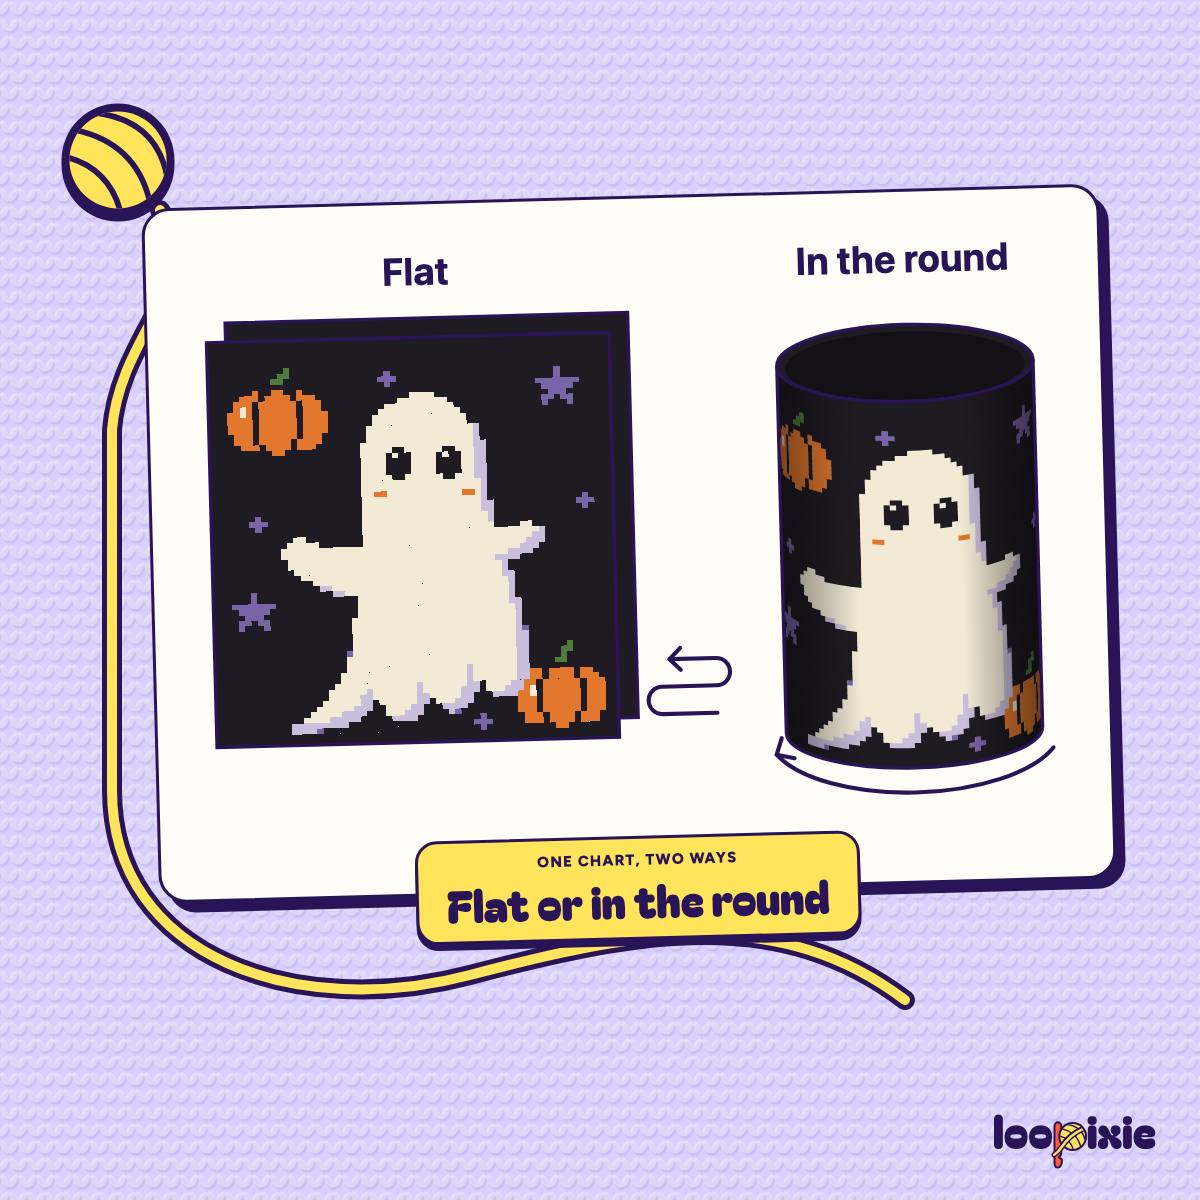
Our free pillow patterns are worked flat, in single crochet through both loops, with chain 1 and turn between rows. So the picture does not drift; straight lines zigzag a little, as in any turned single crochet. If you make one in the round without turning, the lean comes back: join and turn each round, or use one of the fixes above. Can I work the same tapestry crochet flat and in the round? shows how to make one of our pillows as a tube.
Making a word or a name, like the one above? Our letter chart maker makes the chart and writes out the rows for flat work or rounds, for either hand.